Knowledge Centre
Need an overview? Read:RESIN BOUND VS RESIN BONDED?
How to Mix for Resin Bound
The mixing process and method is crucial to a high quality DALTEX UVR Resin Bound System and it is critical that you mix to the correct ratios.
For a complete step by step guide for carrying out a Resin Bound driveway installation, please read our full and detailed Training Notes.
Resin Bound mixing method
The process of mixing and laying is simple, but it requires accuracy and care at each stage.
Mixing of the resin is a very important part of the process. Shortcuts must NOT be taken. It is recommended to use one batch on a project. If more than one batch is used, care should be taken to use the same batch in one area in case of small batch to batch variation.
Mix the resin in the container on a plasterer’s board or some other protective surface in case of splashes.
- Make sure the resin container is secured between your feet before you start mixing.
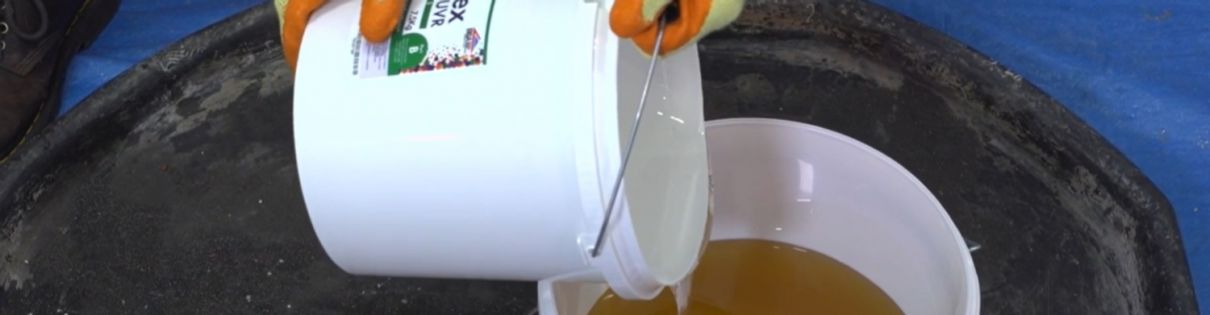
- The Part A component of the resin should be mixed for between 10-20 seconds with a slow speed, high torque, helical blade mixer. Accelerator should be added at this stage if required.
- The Part B component should then be added and mixed thoroughly at a slow speed for approximately 60 seconds until it is uniform.
The formulation of resins, mixed with dry graded aggregate, has been carefully designed to suit the requirements of the site. It is essential that the specified blend is not varied by the contractor.
Cure Speed Modification
The surface should be allowed to cure for 8 hours, but we do not recommend foot traffic for at least 24 hours. This will be longer if the temperature is lower. At low temperatures, Accelerator/Catalyst can be added to maintain cure speed.
Accelerator must be used for temperatures below 15°C (especially note overnight temperatures) as this can lead to longer curing times and contamination of the surfacing. Accelerator should be used with each mix to ensure uniformity of cure except for higher consistent temperatures of 25°C.
For more information on accelerators (catalysts), please see our Training Manual.
Other resin mixing notes
- Keep the resin as cool as possible. Avoid keeping it in your van on a hot day or in direct sunlight. Try a reflective cover to keep the resin cool.
- If Part B of your resin appears milky or has crystals in it, then it should not be used. This means it has been exposed to moisture.
Mixing Aggregates and Resin
The following looks at the mains stages of mixing resin and aggregates using a Forced Action Mixer.
For full and detailed instructions on how to mix resin and aggregates for Resin Bound, please consult our resin bound Training Manual.
What are the four steps of resin and gravel mixing?

These are the four primary stages of mixing resin and aggregates. Remember, be consistent, be clean and be safe.
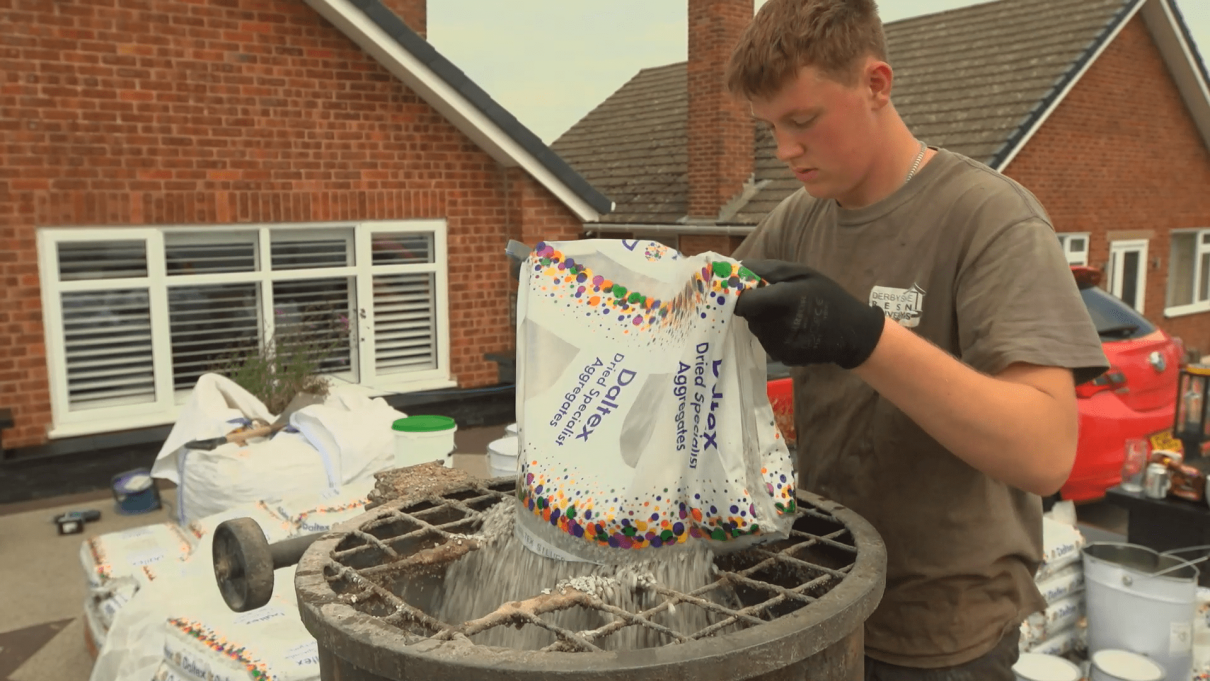
- Place the first 25kg bag of 2-5mm aggregates and the bag of 1-3mm aggregates into the forced action mixer.
- Add the pre-mixed resin immediately to the pre-mixed aggregate. Now is the time to start your stopwatch.
- Add the two bags of 2-5mm aggregate.
- Add the C52 sand slowly and steadily to ensure an even consistency.
Stage 1 - Ensure the aggregates are mixed consistently for all mixes. (Mixing dry stone can grind the stone and introduce dust or grind contaminants of the drum walls).
Stages 2-4 must be mixed for the same amount of time on every mix! Failure to do this will cause a variation in the colour mix. Ideally, use a stopwatch to ensure consistency for every mix.
It should take no longer than 4 minutes once the resin has been added. Once the sand has been added, ensure it has been distributed evenly through the mix.
Related to this
- How to install a resin bound driveway
- How to conduct a resin bound installation site survey
- Understanding resin bound bases
- Why do I need to use a forced action mixer for resin bound?
- How long does it take for resin bound to cure?